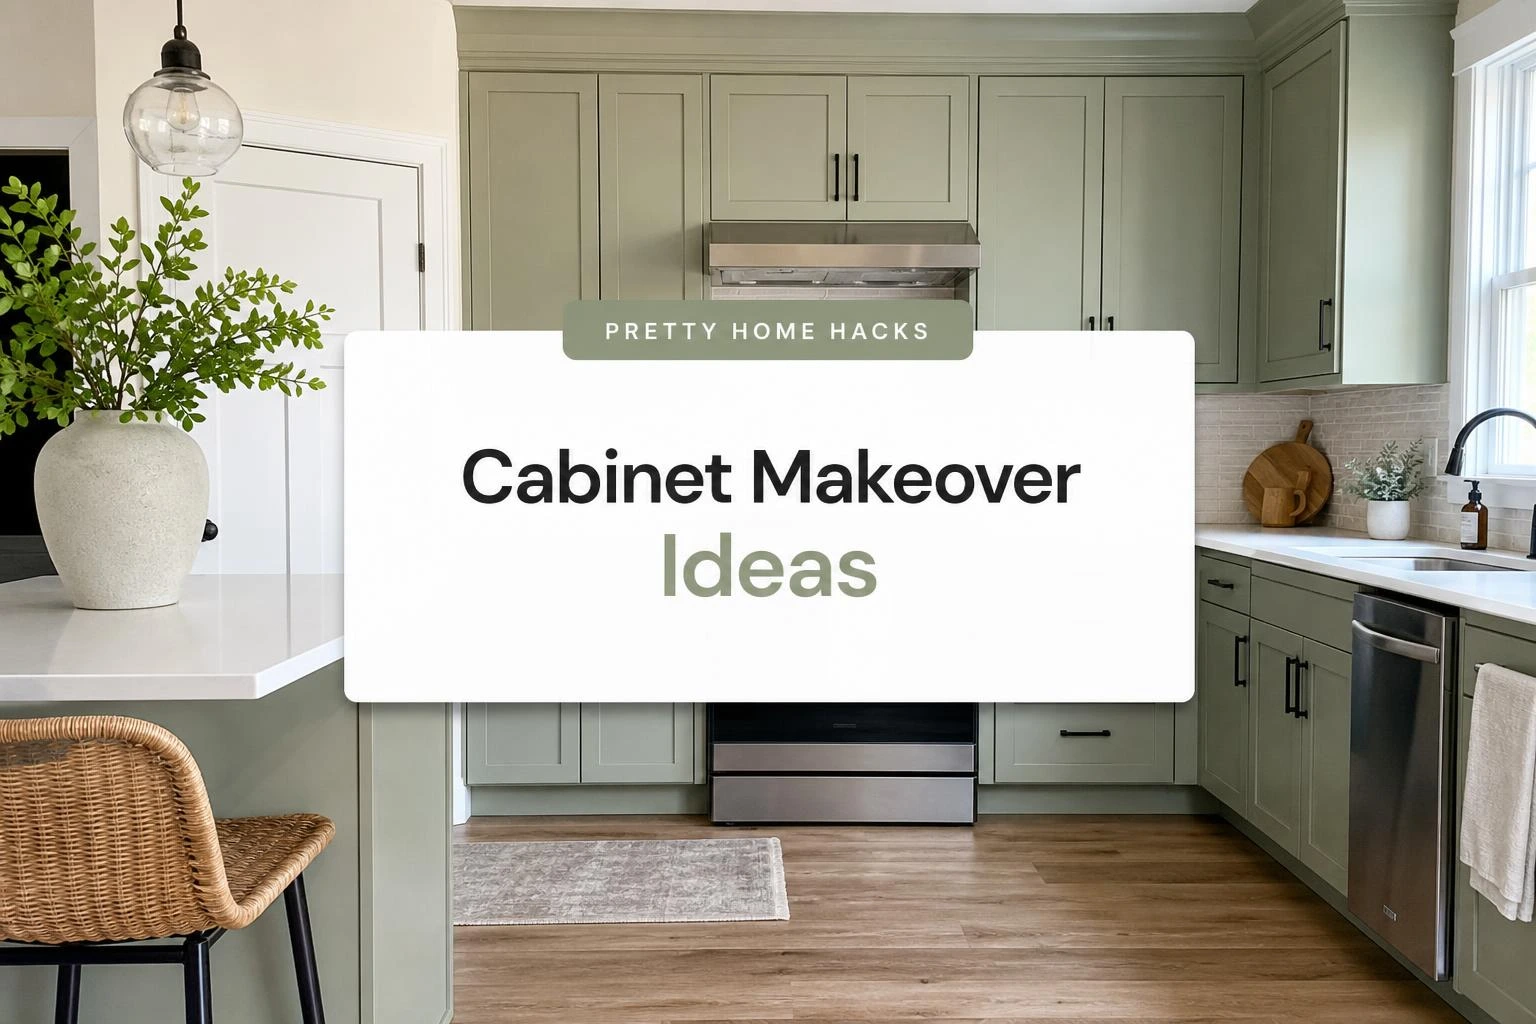
Old Kitchen Cabinet Makeover Ideas That Look Expensive
Old kitchen cabinets are one of those things that slowly fade into the background until one day the light hits them just right and suddenly they look every single year of their age.
The doors are a little scuffed, the hardware is the original brass from 1994, and there is a weird sticky patch near the corner cabinet that has survived three rounds of cleaning.
Most people assume an old kitchen cabinet makeover means either spending a fortune on replacements or living with cabinets that look tired forever, and neither of those options feels great.
The thing is, solid older cabinets are actually worth keeping because the bones on most of them are better than anything in the flat-pack price range today.
A few specific updates done in the right order can make a kitchen feel genuinely different without touching the layout or the budget in any serious way.
1- Clean Cabinets With Murphy’s Oil Soap First
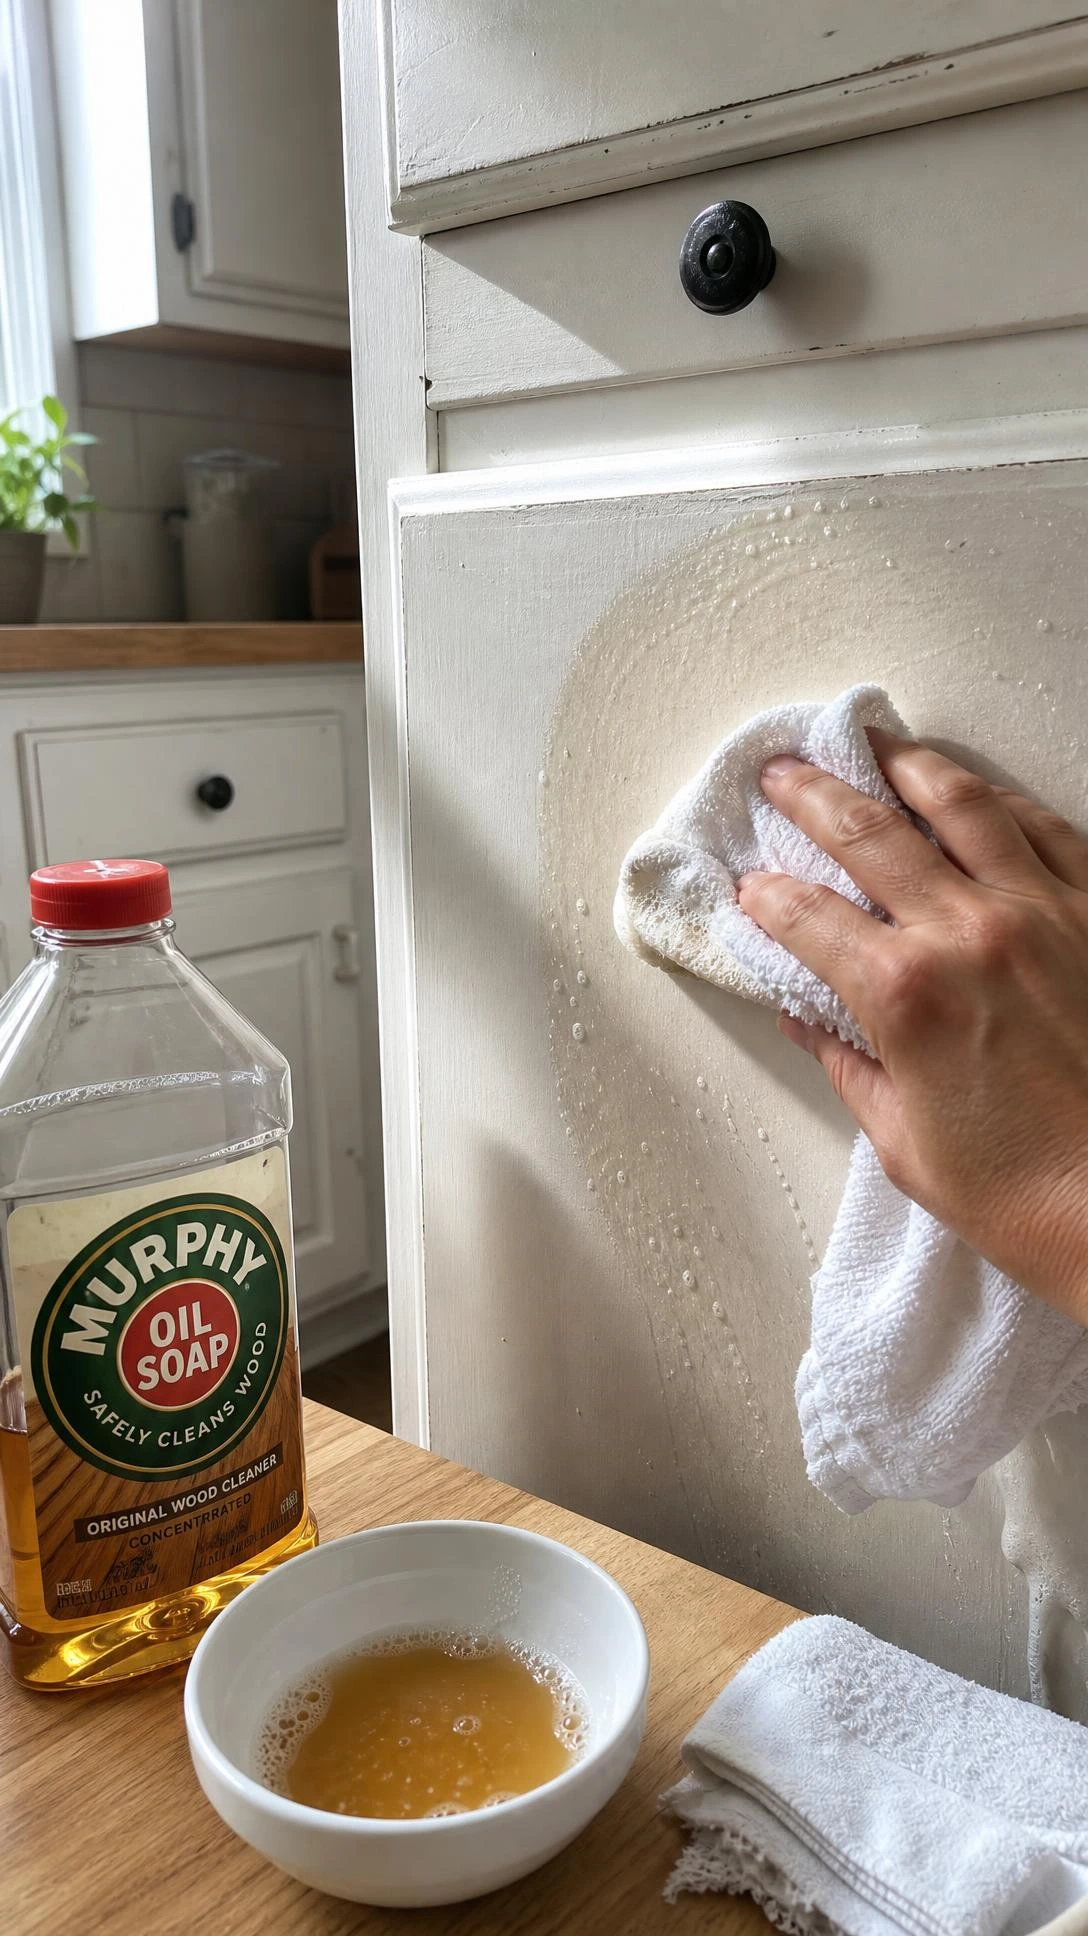
Nobody wants to hear that cleaning is the first step, but skipping it is why a lot of painted cabinet makeovers start peeling within six months.
Years of cooking grease settle into a thin invisible film over cabinet surfaces, and paint or any new finish just slides right over the top of it without bonding properly.
Murphy’s Oil Soap mixed according to the bottle directions cuts through that grease layer really well, and following it with a wipe of Pledge Revitalizing Oil picks up whatever is left behind.
Doing the inside of the doors and the drawer fronts matters too, not just the visible outer frames, because those spots get touched constantly.
This part takes an afternoon and feels boring, but it is genuinely the thing that decides whether the rest of the makeover holds up long term.
2- Sand Surfaces Before Any Paint or Primer
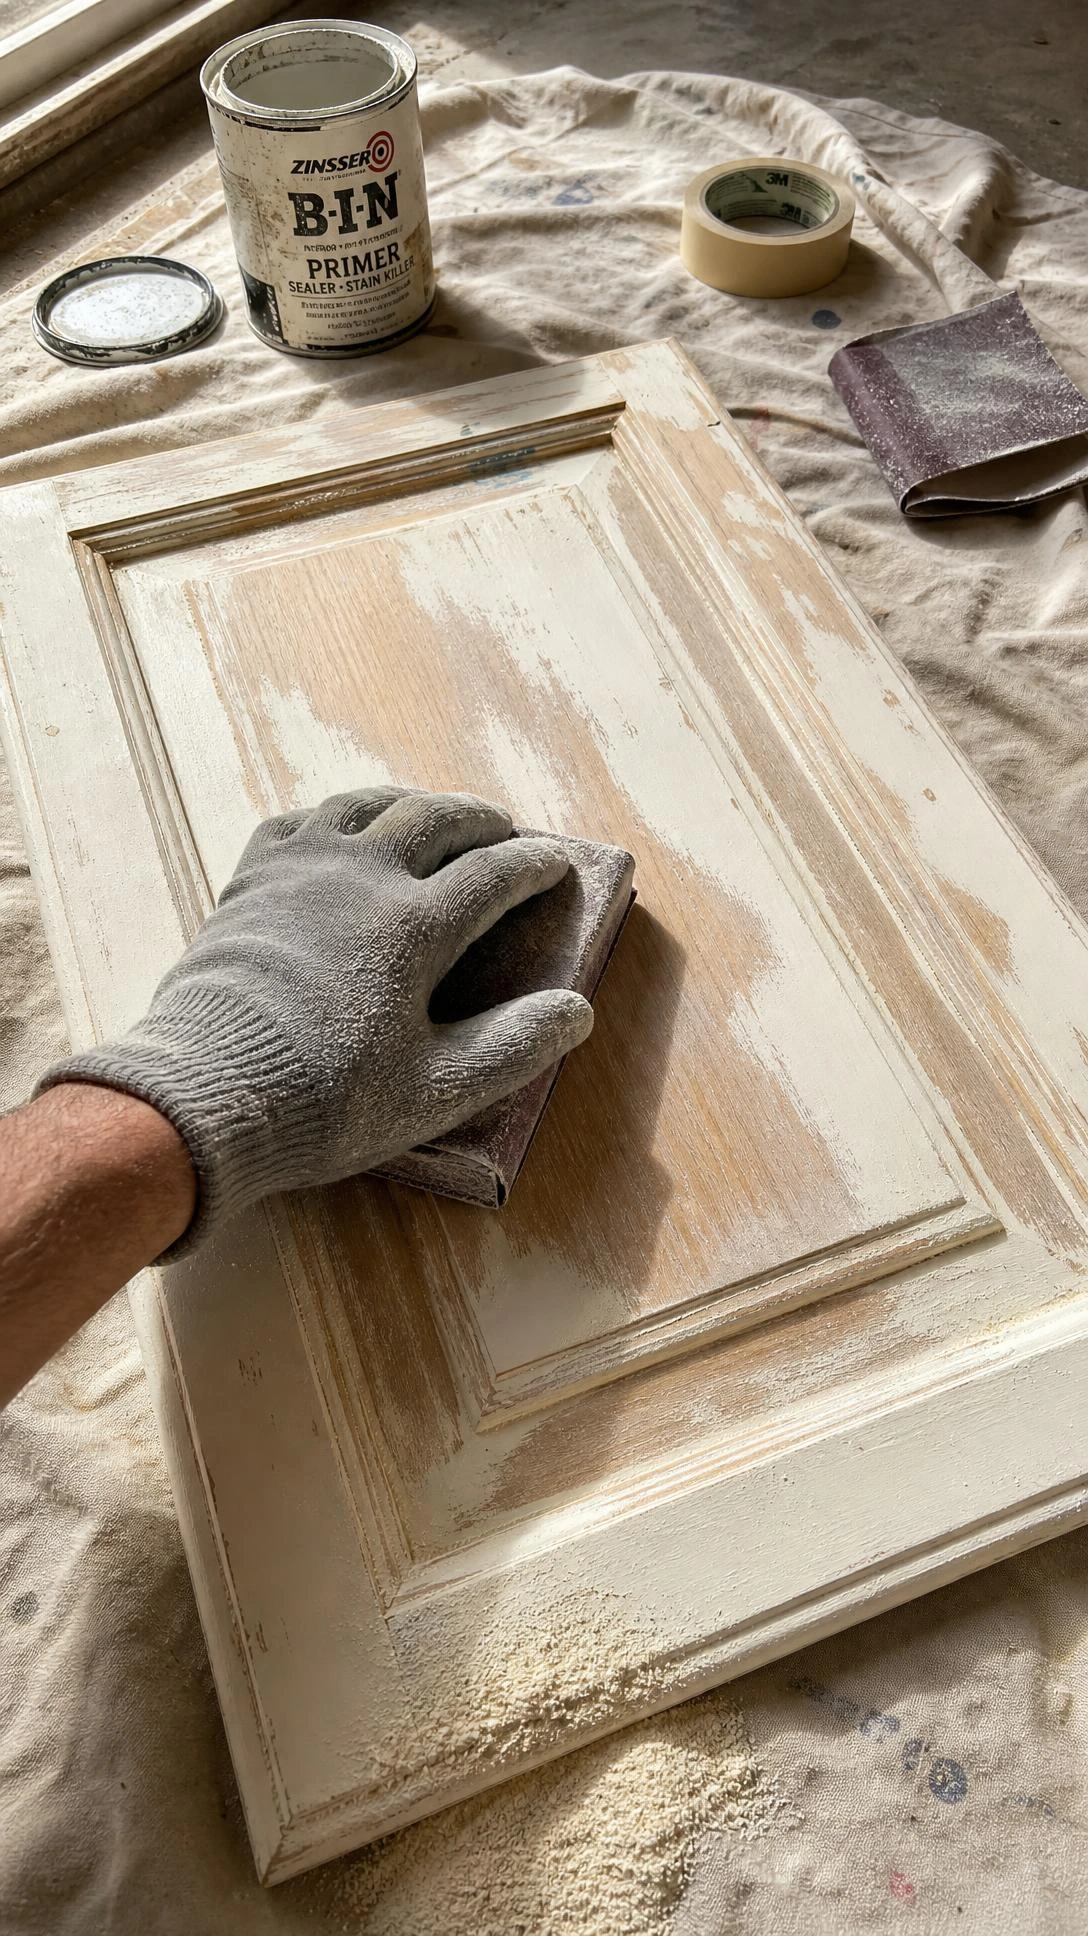
Paint needs something to grip, and most cabinet surfaces are either too smooth or have a factory coating that acts like a barrier if nobody addresses it first.
A palm sander with 120-grit sandpaper is the right tool for this because it moves fast enough to actually get the job done without taking forever.
The goal is not to strip the cabinet down to bare wood, just to scuff the surface enough that primer has something to hold onto.
Wiping everything down with a tack cloth after sanding is the step most people skip, but leftover dust in the paint finish shows up immediately once it dries.
I think this step alone is responsible for about half the difference between a cabinet paint job that looks professional and one that looks like a weekend project gone sideways.
3- Fill Old Hardware Holes With Wood Filler
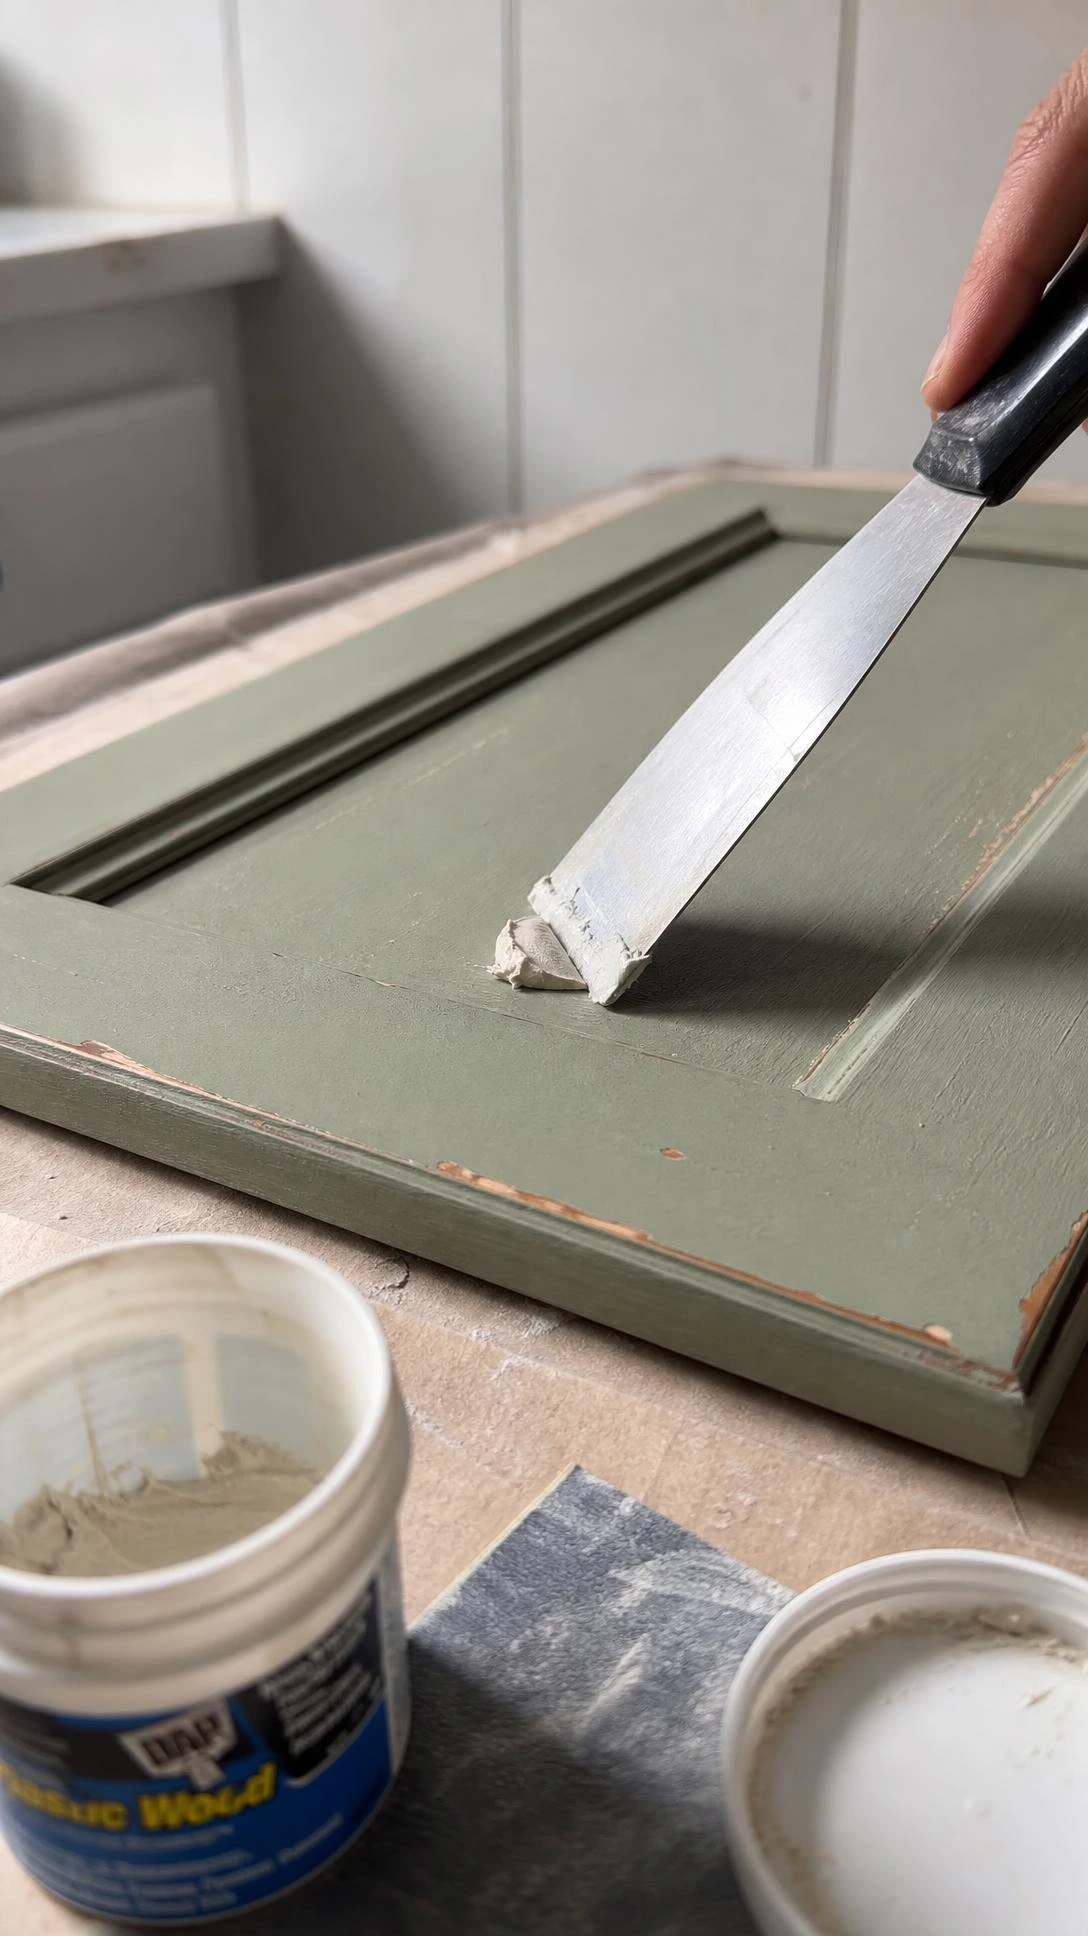
Swapping out cabinet hardware almost always means the old screw holes are in slightly the wrong place for the new pulls or knobs.
Wood filler handles this easily, and most brands like DAP Plastic Wood dry hard enough to sand smooth within a couple of hours depending on the room temperature.
The trick is slightly overfilling the hole, letting it dry completely, then sanding it flush rather than trying to get it perfectly level while it is still wet.
Once it is primed and painted over, the filled spots disappear completely and nobody would ever know the original holes were there.
This is worth doing carefully because a lumpy filled hole still shows under paint, especially in kitchens with overhead lighting that casts shadows across flat surfaces.
4- Add Trim Molding to Flat Cabinet Doors
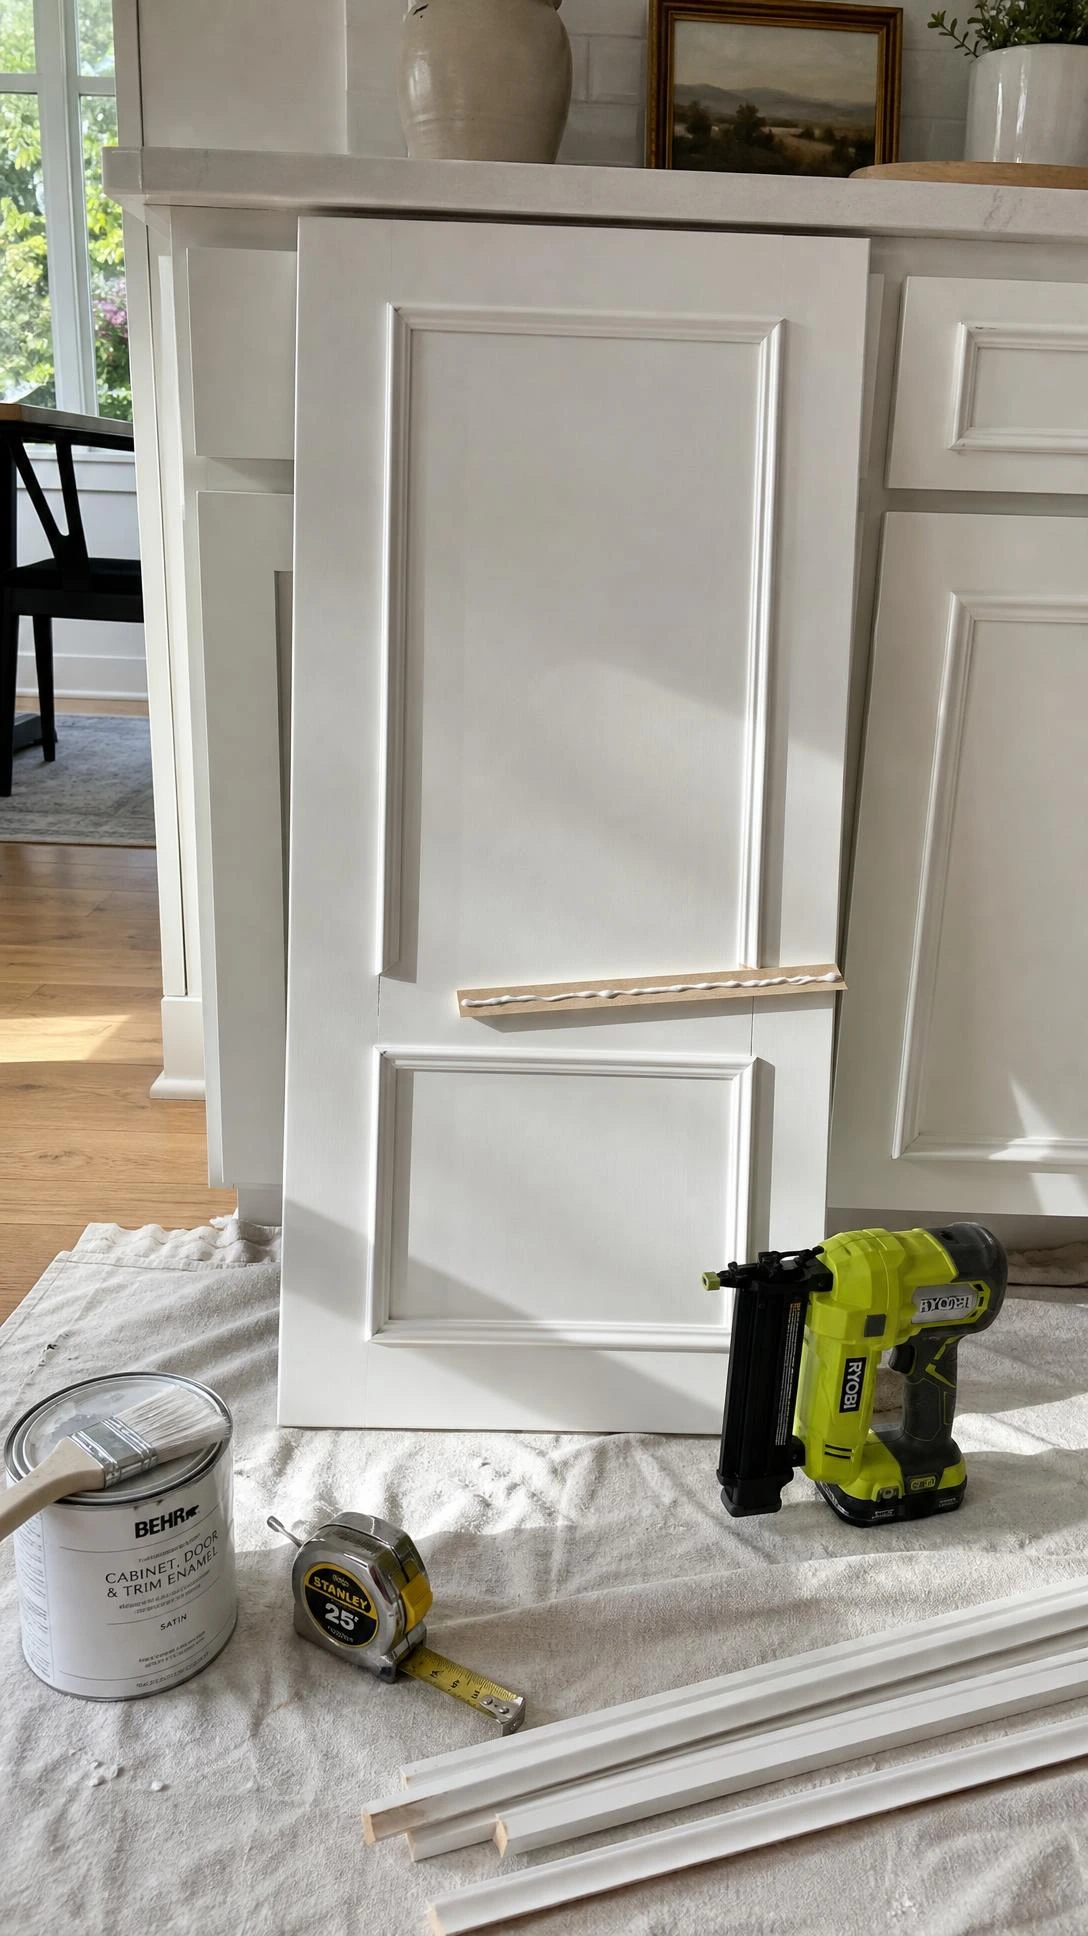
Flat slab cabinet doors are the main thing that makes older budget kitchens look, well, like older budget kitchens.
Adding 2-inch by quarter-inch trim from a hardware store like Home Depot to the door fronts creates the look of a raised panel door for roughly 30 to 50 dollars in materials for a standard sized kitchen.
Small finishing nails work better than glue alone for attaching the trim because the bond is more secure and the nails can be countersunk and filled before painting.
For drawers, stepping down to 1.5-inch trim makes more visual sense because narrower trim keeps the proportions looking right on the smaller surface area.
Measuring each piece of trim at least twice before cutting is the kind of advice that sounds obvious until the third time someone ends up with a piece that is a quarter inch too short.
5- Caulk Gaps Between Trim and Cabinet Surfaces
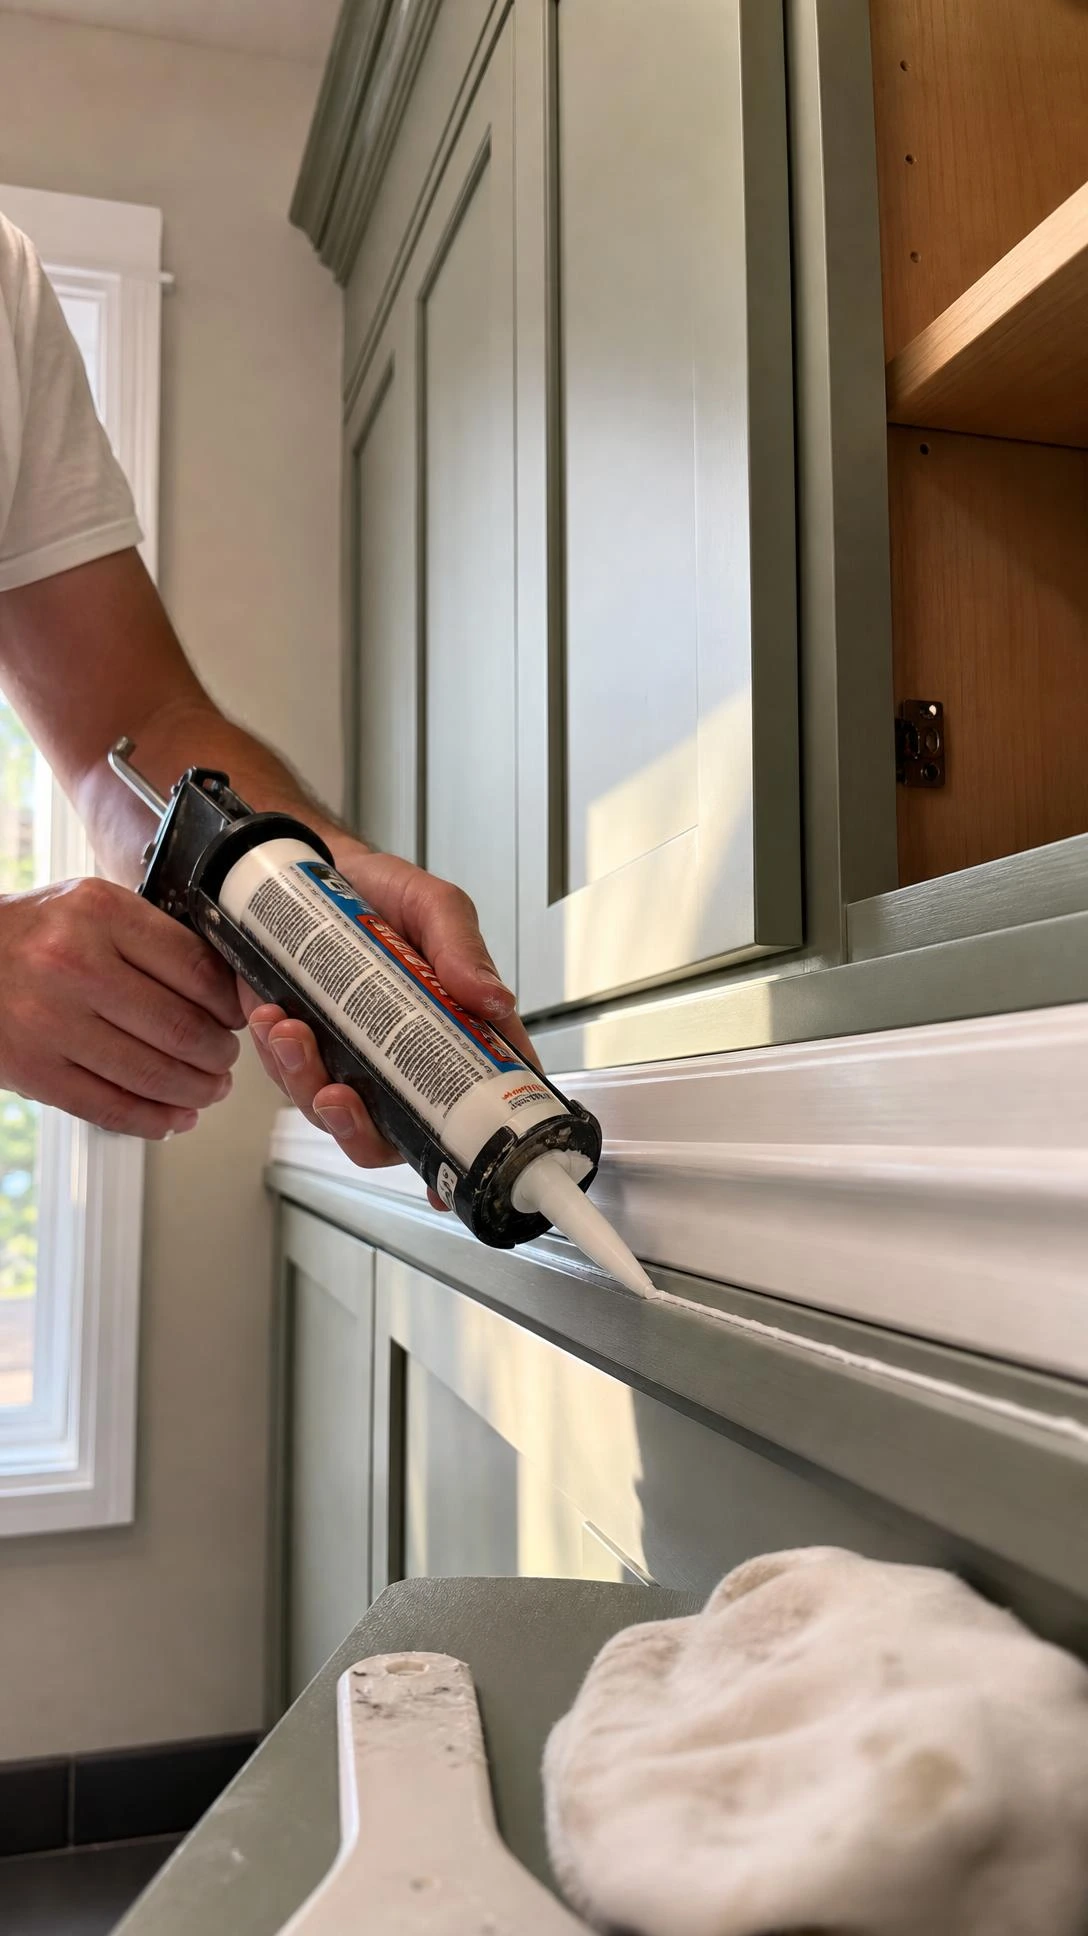
Once the trim is nailed on, there are almost always tiny gaps along the edges where the trim meets the door, and those gaps look unfinished once everything is painted.
Paintable caulk is the right product for this because regular silicone caulk resists paint and shows as a shiny line even after two coats.
Running a thin bead along each edge of the trim and smoothing it with a damp finger takes about ten minutes per door and makes the finished result look much more built-in and intentional.
Letting the caulk cure fully before painting over it matters because painting too soon traps moisture and can cause the caulk to crack or wrinkle.
Most paintable caulks are dry enough to paint over in about an hour, but checking the specific product label is worth the ten seconds it takes.
6- Prime Cabinets With a Bonding Primer
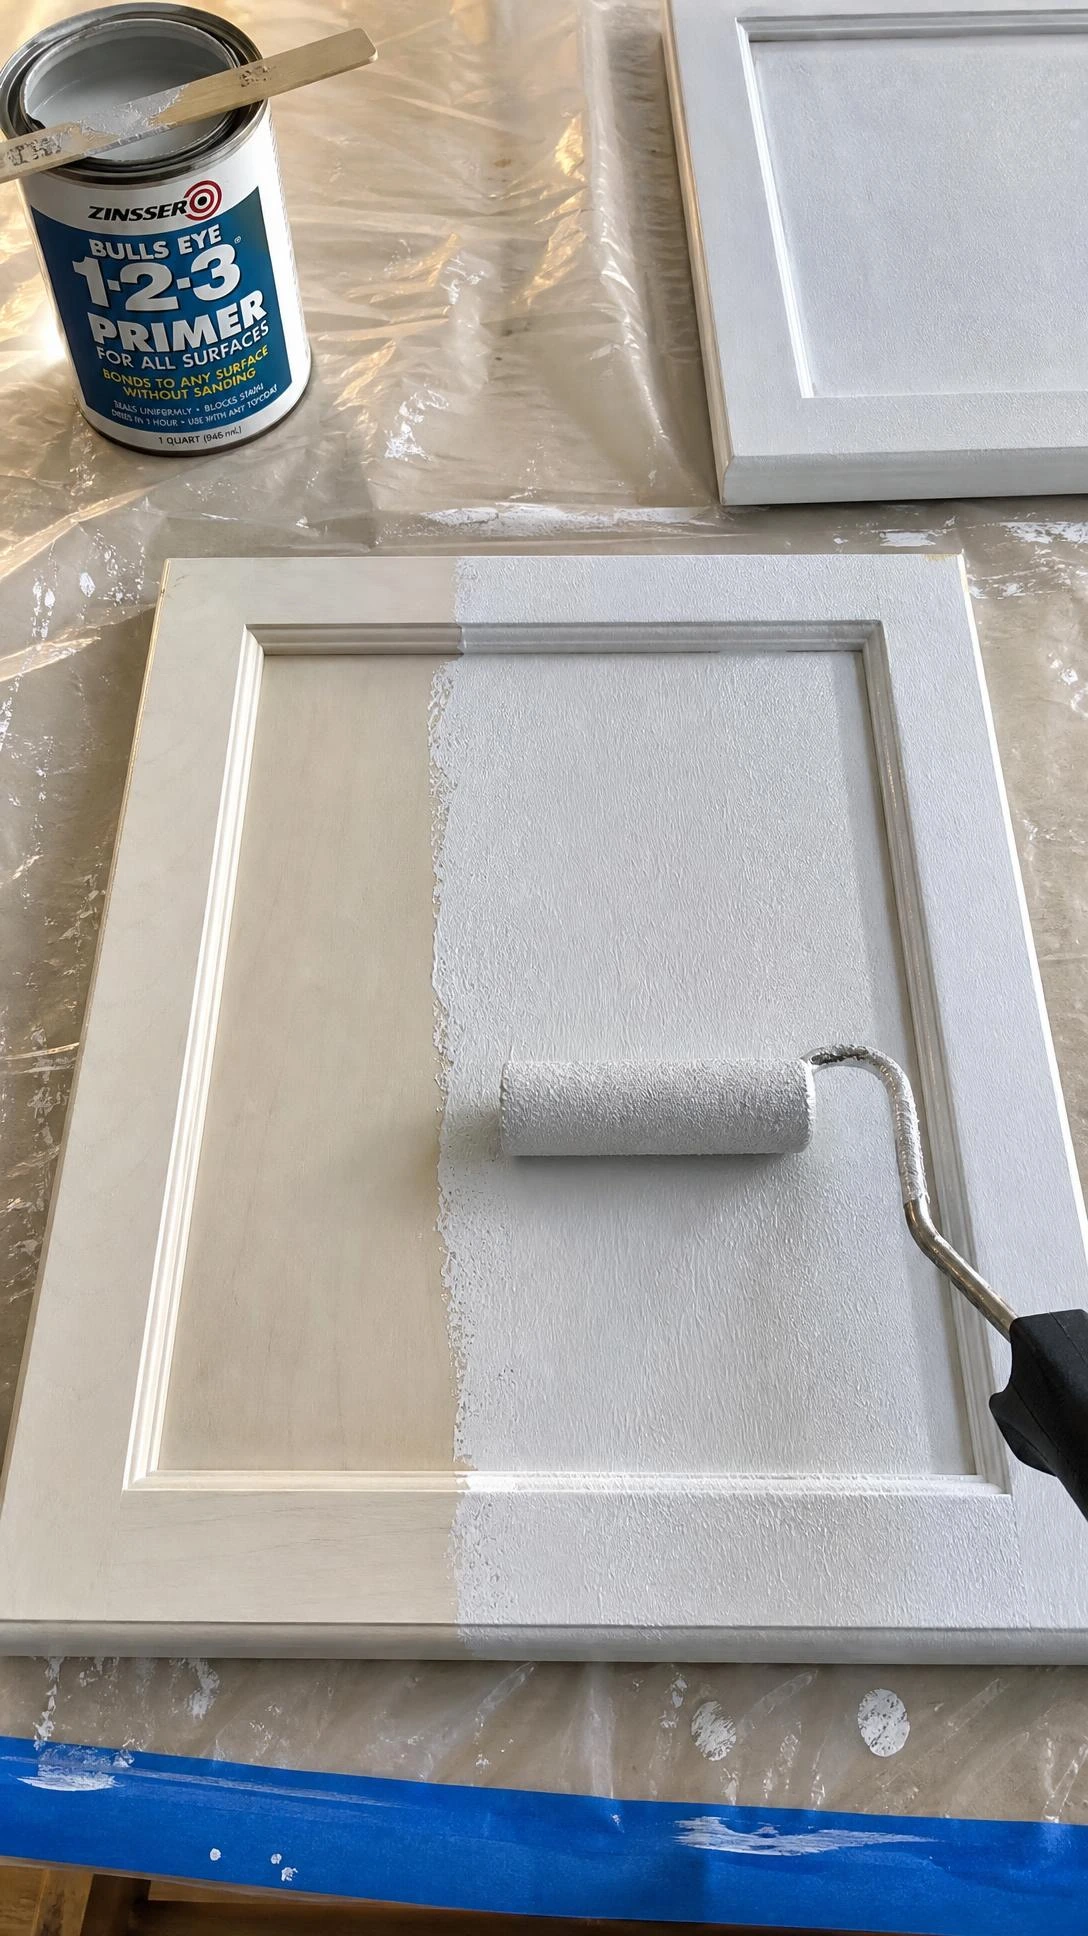
Regular wall primer is not the right product for cabinets because it does not bond well to slick or previously painted surfaces the way a dedicated bonding primer does.
Zinsser BIN shellac-based primer is one of the most consistently recommended options in this category because it sticks to almost anything and dries fast enough to sand and recoat the same day.
Two thin coats of primer hold better than one thick coat, and thin coats also mean less dripping and less sanding between layers.
This is the step where the whole cabinet makeover starts to look like it might actually work, which is a motivating moment after all the prep.
7- Paint With a Cabinet-Specific or Alkyd Paint
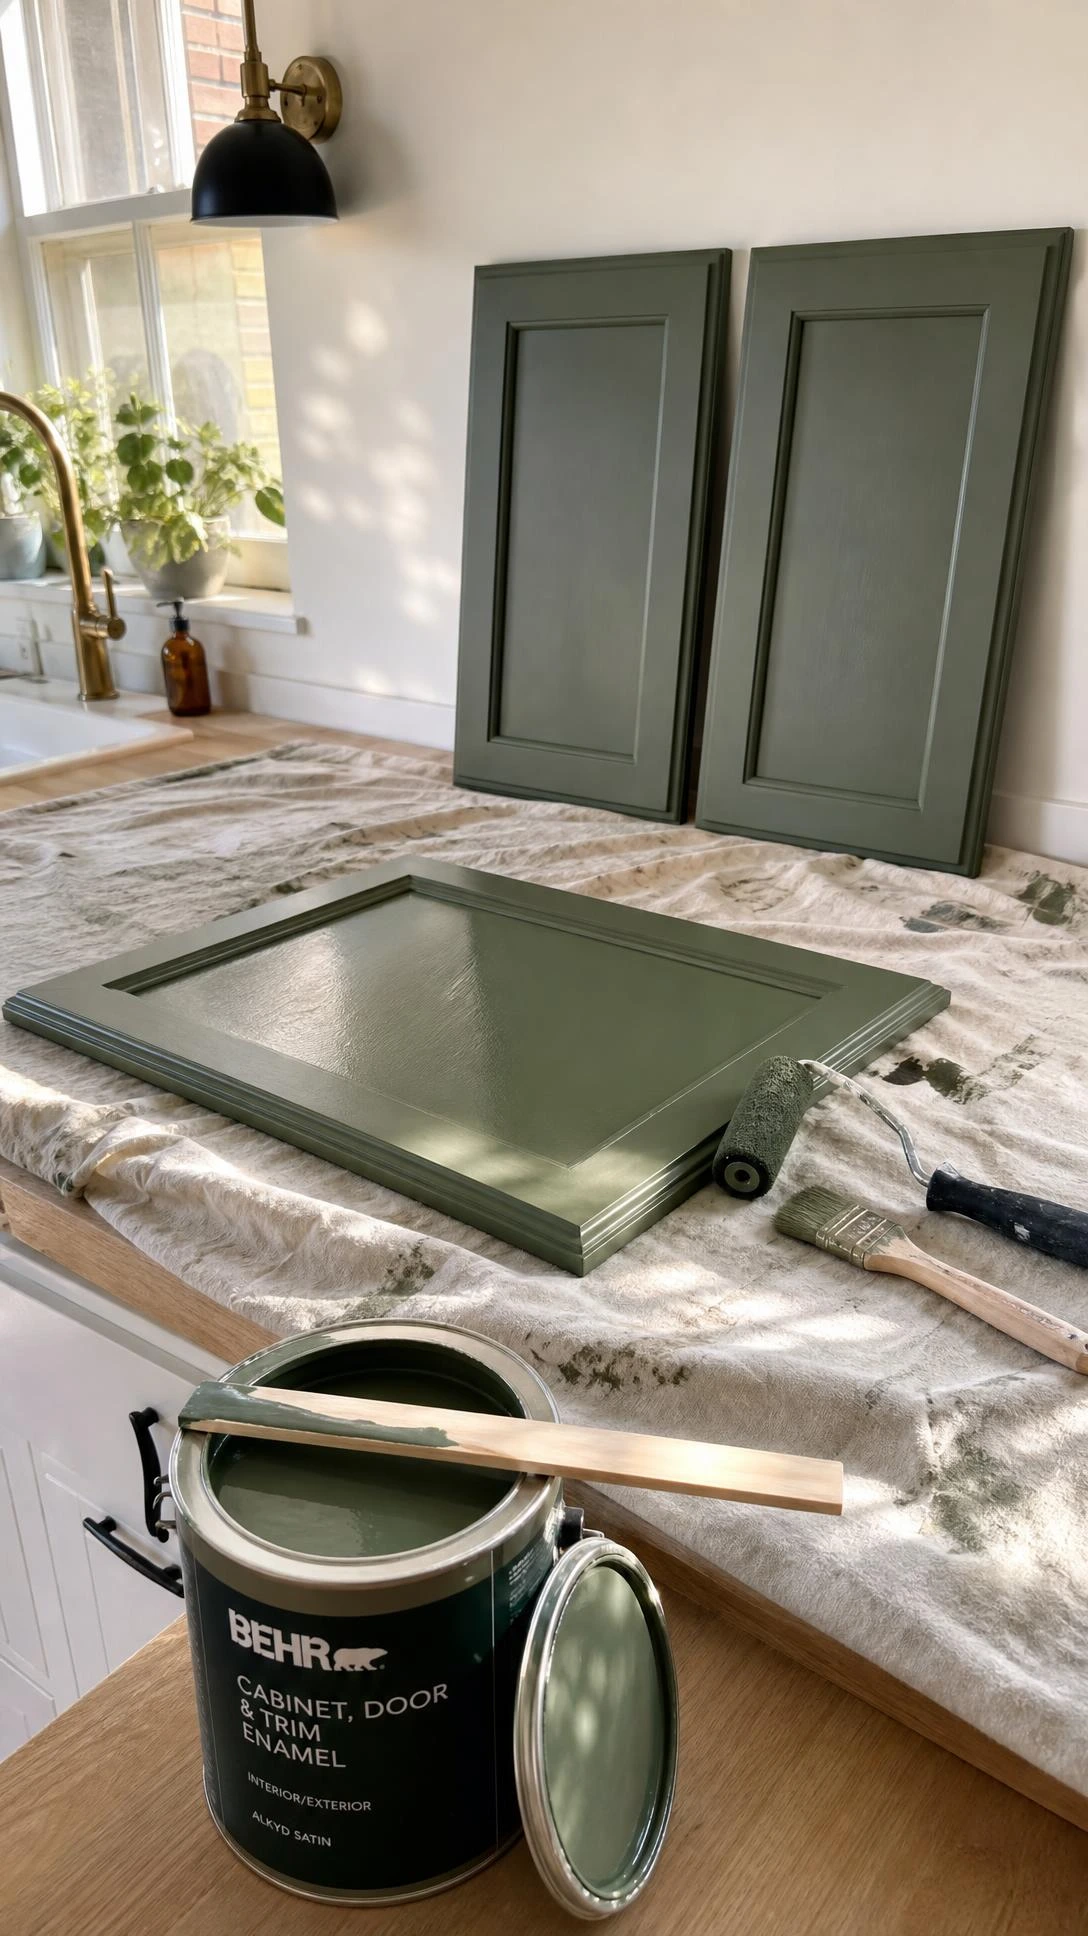
The paint used on cabinets needs to be harder and more durable than standard wall paint because cabinet surfaces get touched, wiped, and bumped constantly.
Benjamin Moore Advance is one of the most widely used cabinet paints in this category because it self-levels well, which means brush marks largely disappear as it dries.
Soft white, warm white, and shades like Chantilly Lace or Simply White are the colors that consistently photograph well and make older kitchens feel fresh without looking cold or clinical.
A small foam roller is better than a brush for flat surfaces because it leaves almost no texture, and a brush works well for corners and detail areas where the roller cannot reach.
Two coats are almost always needed and sometimes three on very dark or very worn surfaces, but rushing between coats is what causes streaking and uneven coverage.
8- Swap Out Old Hardware for New Pulls
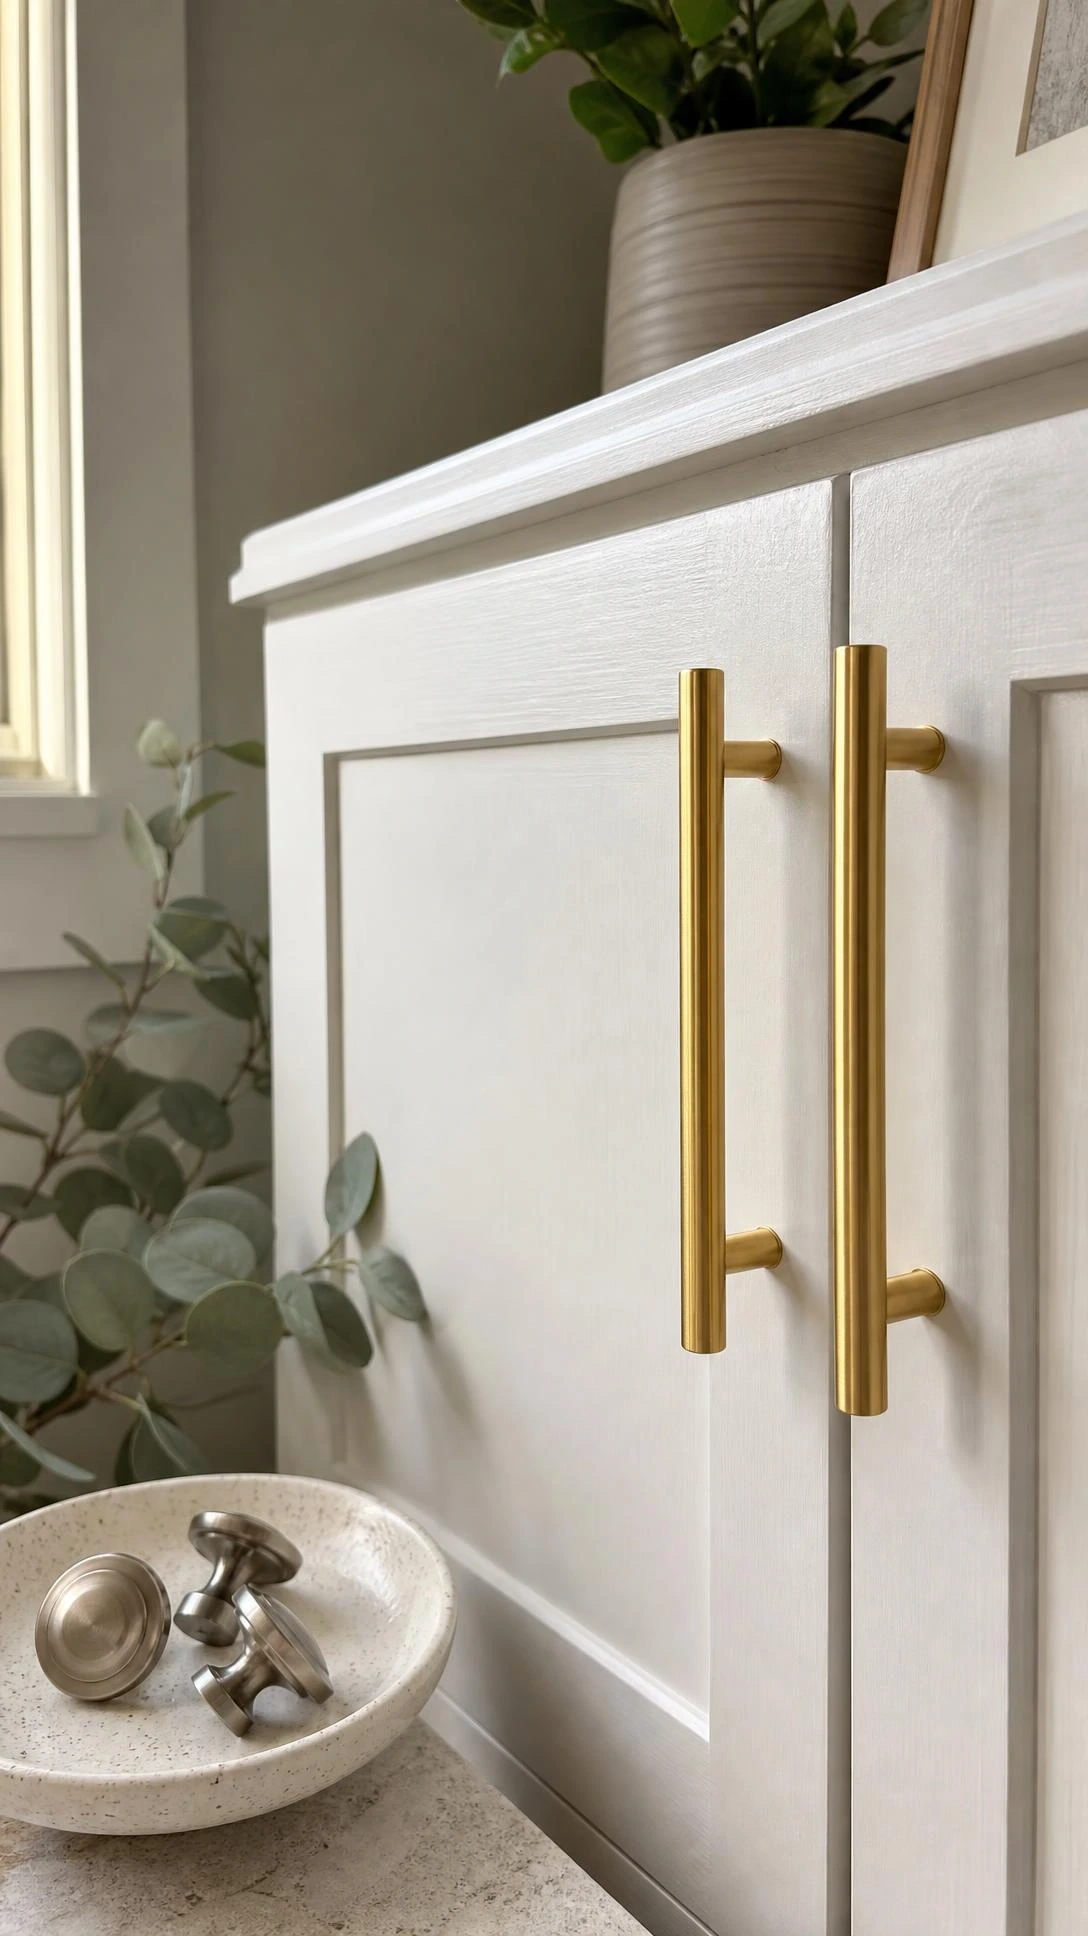
Hardware is one of those details that most people underestimate until they swap it out and immediately wonder why they waited so long.
Satin nickel and matte black are the two finishes that work across the widest range of cabinet colors and kitchen styles without clashing or looking trendy in a way that dates quickly.
Cup pulls on drawers and simple bar pulls or round knobs on doors tend to read as the most classic combination, and a set from Amazon or Wayfair in the 1 to 3 dollar per piece range looks just as good as the more expensive versions.
The hole spacing on replacement hardware needs to match the existing holes or the filled holes from the old hardware, which is why measuring before ordering saves a lot of frustration.
Bar pulls in 3.75-inch or 5-inch hole spacing are the most common sizing and the easiest to find across the most styles and finishes.
9- Replace or Paint Cabinet Hinges
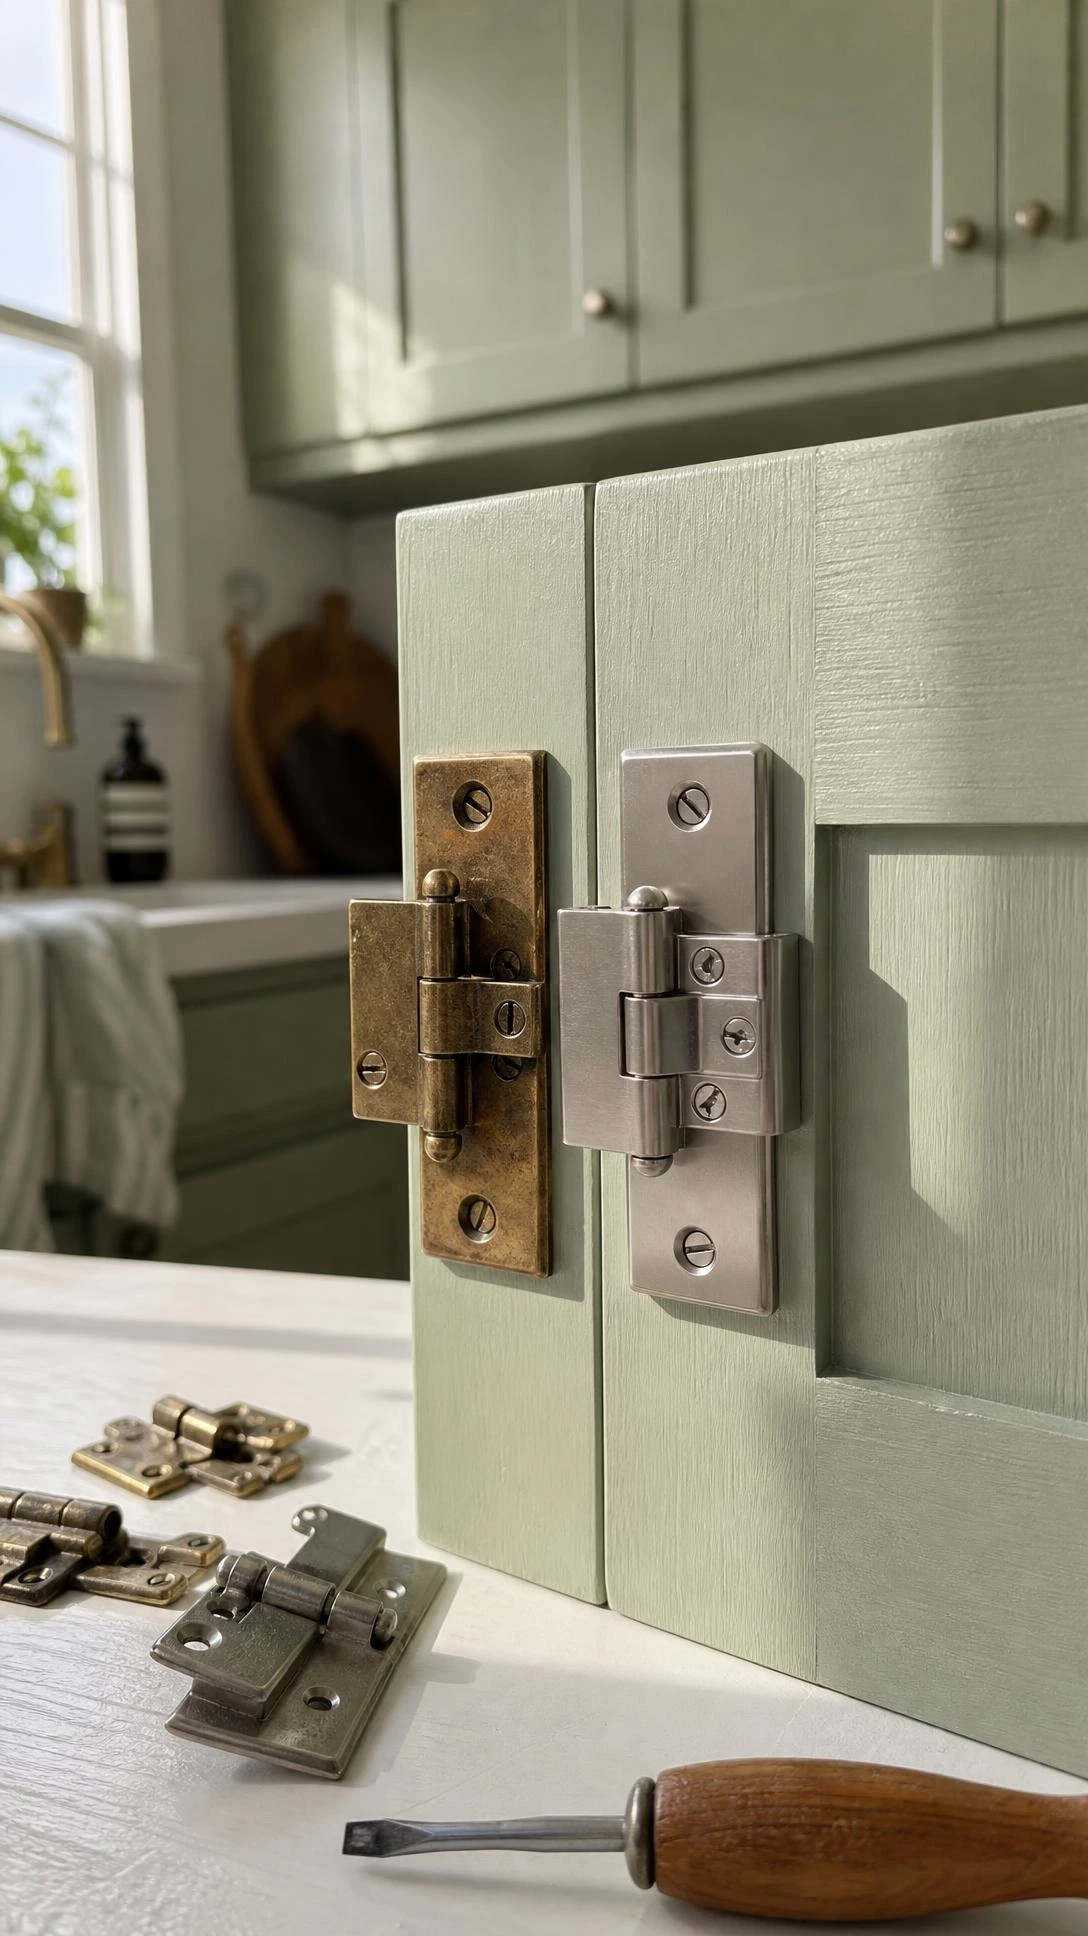
It is easy to paint beautiful cabinet doors and then have the whole thing undercut by hinges that are still the original brass or chrome from decades ago.
Replacing visible hinges with matching satin nickel or matte black versions costs around 20 to 40 dollars for a full kitchen depending on how many cabinets there are.
For people who want to skip replacing them entirely, a can of Rust-Oleum metallic spray paint in the right finish can update visible hinges in about an hour with proper masking tape around each one.
The spray paint method works surprisingly well and holds up reasonably on hinges that do not move constantly, though high-use hinges on heavy doors tend to chip faster over time.
Either way, the point is just that mismatched hardware and hinges read as unfinished even when everything else looks great.
10- Add Under-Cabinet Lighting
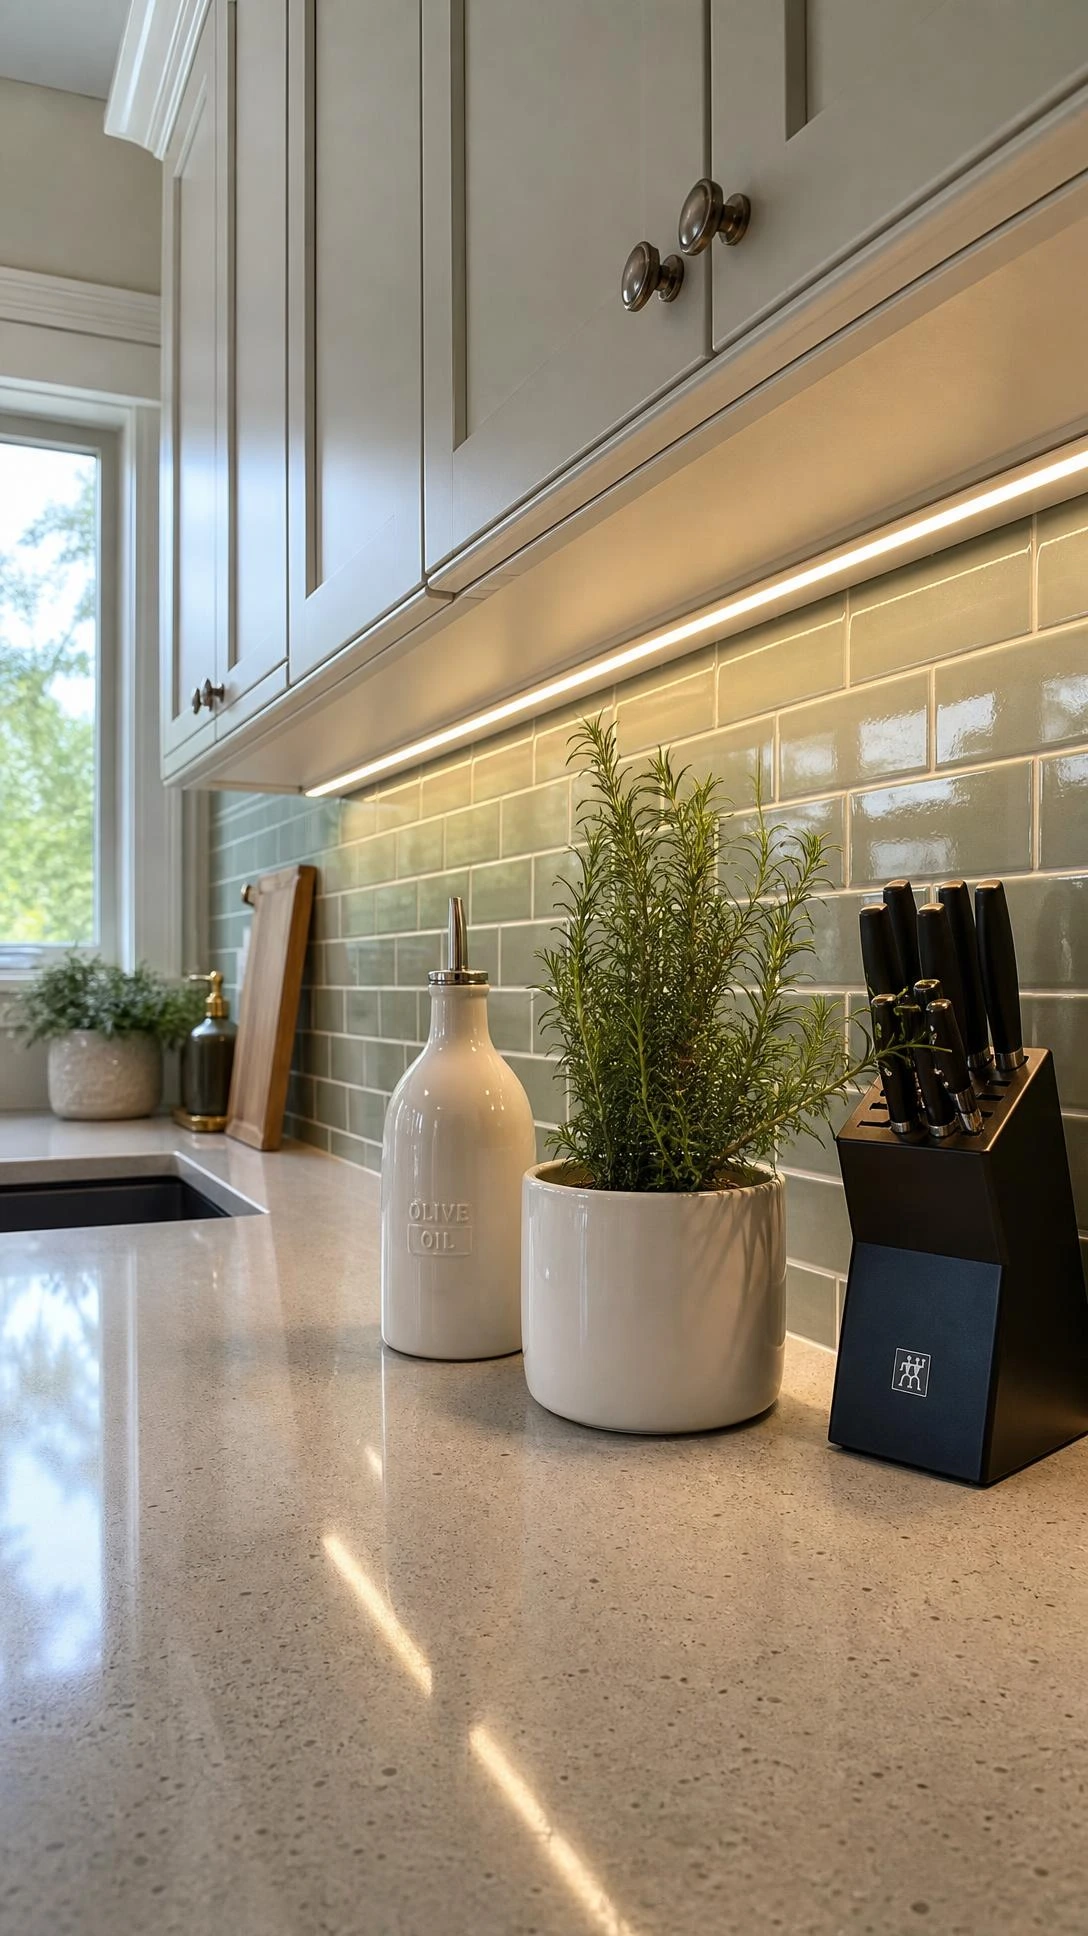
Under-cabinet lighting is one of those updates that sounds like it is more about function than style until it is installed and suddenly the kitchen looks like a completely different room at night.
Puck lights or strip LED lights in a warm white temperature around 2700K are the most flattering for kitchens because they complement most wood tones and white cabinets without looking harsh or clinical.
Plug-in versions are a realistic option for renters or anyone who does not want to deal with hardwiring, and a set of six to eight puck lights runs around 30 to 60 dollars from most hardware stores.
Positioning them toward the front edge of the cabinet underside rather than the back throws the light forward onto the counter instead of into the wall, which is the detail that makes them actually useful.
I think this is the single most underrated update in any kitchen refresh at this budget level because the visual impact is totally disproportionate to what it costs.
11- Update Cabinet Interiors With Shelf Liner
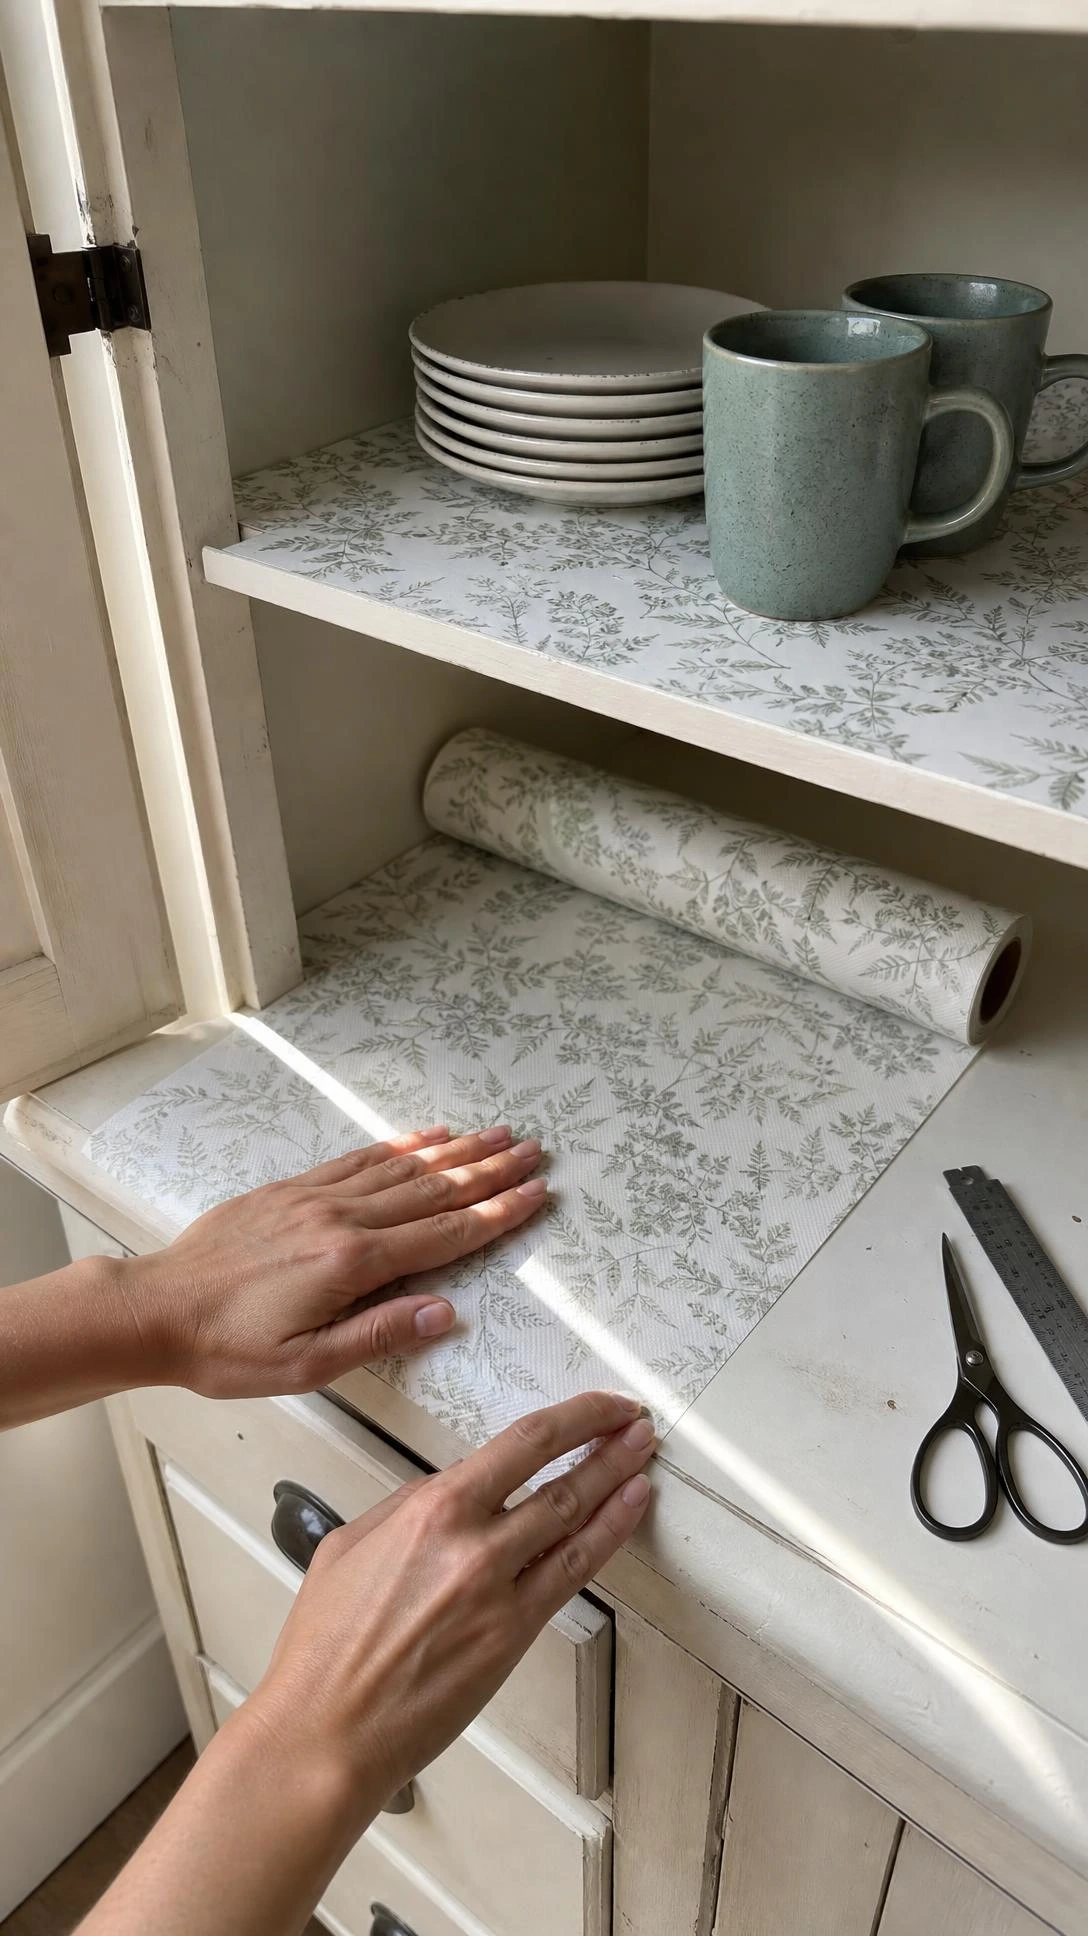
The inside of cabinets is one of those places people open every single day and somehow still manage to completely ignore when doing a refresh.
Replacing old shelf liner or adding it for the first time is a small detail that makes the kitchen feel finished and clean in a way that is hard to explain until it is done.
A simple white or soft neutral removable liner like the Con-Tact brand grip liner creates a clean backdrop that makes everything stored inside look more organized even when it is not actually that organized.
Patterned liner in a subtle tile print or a sage green works well in kitchens with white or off-white cabinet interiors and adds just enough personality without committing to anything permanent.
Cutting each piece about a quarter inch shorter than the shelf depth keeps the liner from buckling at the front, which is the small adjustment that makes it look intentional rather than rushed.
The Easiest Way to Refresh a Kitchen Without Starting Over
An old kitchen cabinet makeover does not have to mean replacing everything or hiring anyone or spending more than a few hundred dollars if the cabinets themselves are structurally solid.
The updates that make the biggest difference are almost always the ones that get the prep right first, which means cleaning and sanding before anything else gets touched.
Most kitchens go from looking worn and dated to looking considered and refreshed with paint, new hardware, and one or two small additions like lighting or trim.
The goal is just a kitchen that feels good to be in again, and that is actually a pretty achievable thing.

Hi, I’m Alizabeth, the creator of Pretty Home Hacks. I share practical home decor ideas, easy DIY projects, organization tips, and budget-friendly ways to make your home feel more beautiful and functional. From small room updates to everyday home hacks, my goal is to share approachable ideas you can actually use in your own space.